In this video, you’ll learn how to create your own custom COVID-19 signage using a Roland print/cut system. This is applicable to all of Roland’s Vinyl Print/Cut machines including the BN-20, VG2-300/54/640 and SG2-300/540/640.
Why print your own instead of ordering custom signs? It’s relatively simple, the turnaround time is quicker, and if you already own a Roland system, it’s cheaper. Even if you don’t own a Roland print/cut system, a case could be made to purchase one when considering the quantities of COVID signage needed as well as additional signage around your building.
Step 1: Decide what you’re designing.
A simple poster? Wall or floor decal? Full banner? This will determine the steps you need to take throughout the design and printing process to ensure quality output.
Step 2: Pick your material.
Here’s a short list of recommended materials:
- Wall / floor decals – glossy or matte calendared vinyl (which would ideally also be laminated)
- Posters – standard glossy or matte photobase paper
- Banners – banner material, like Roland’s lightweight banner vinyl (Don’t forget to get banner tape and grommets to aid in longevity too!)
Step 3: Design your graphic.
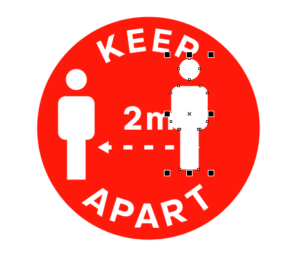
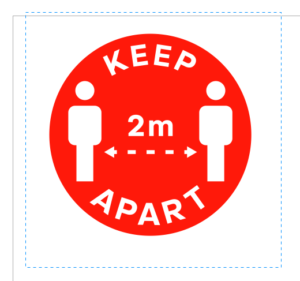
The CDC has some graphics for university and K-12 education institutions and there are plenty of other free resources online as well. In this instance, I’m using these two simple graphics to create a wall decal and a floor decal.
When using a vector based graphics program such as Adobe Illustrator or CorelDraw (in this video I’m using CorelDraw 2017), it’s important to work with vector image files as much as possible. Here is a quick video on the basics of vector and raster graphics.
Download the images you plan to use and import the files into your software.
The images used in this video tutorial were downloaded in a vector format from Avery Dennison, which is a supplier of vinyl for use in a Roland printer.
Group the images how you’d like.
Sometimes the different pieces of the picture are arranged correctly, but their positions aren’t fixed or linked together. To fix this, select all parts of that image and group them together. In CorelDraw, drag a box around all of the elements in the picture and then find the “group” icon or press Ctrl+g.
[one_half valign=”top” animation=”none”]

[/one_half]
[one_half_last valign=”top” animation=”none”]

[/one_half_last]
[space]
[/space]
Size your objects.
Once the objects are grouped or otherwise edited (i.e. adding text or objects), it’s time to size them. Most programs will have a “drag to size” option or a direct entry option. I’m making 9” circles.
Step 4: Create cut lines for your Roland printer.
I typically size my cut lines just slightly smaller than my graphics to account for any misalignment of the print and cut during the process. I’ve created two circles that are 8.95” each and colored to my CutContour spot color.
Use alignment tools to align one circle to one of the images and the other circle to the other. In CorelDraw, use the Object>Align and distribute menu. Or highlight both objects and press “C” (align centers horizontally) and then “E” (align centers vertically). In the zoomed picture below, you can see the cut line is just inside the outside print line which helps to eliminate white bleed at the edge of the cuts.
[space]
[/space]
Step 5: Export your art to VersaWorks. (*note: PDF or EPS are recommended file formats)
- In CorelDraw, go to File>Export…>PDF and save that to a location on your computer.
- Open VersaWorks (make sure to run the program as an administrator).
- Click File>Add Job to Queue>Queue (A,B,C). Go to the queue you just added that file to and double click the job. This will bring up the job settings menu.
- If you’re connected to your printer, click on “get media width” toward the top of the layout tab. This will tell you the widest print area based on how your media is set up in your printer.
- If you’re not connected to your printer, it’s important to get this information from a computer that is connected to the printer so you can set up the file accurately. Once you have the media width, you can change the rest of your layout settings including scaling, number of copies, orientation, and position on the media.
- Go to the clip and tile tab (usually second from the bottom).
- Slide the red bars up to each side of your graphic by clicking on the red box on each side and manually dragging to the edge of your graphic, leaving a little room on each side, this will help preserve some media.
- Go back up to the quality tab and select a media profile (or just use generic vinyl) as well as a quality setting. I usually use Standard on the BN-20 or high quality on the VG/SG Series printers. Click OK at the bottom of the job settings window.
*Note: If you plan to laminate your decals with a laminator, use the “mark” tab to print registration marks so that you can load the media back into the printer after laminating to be cut. I don’t have a laminator so I will skip this step.
Step 6: Process and print!
Before you process your file, make sure your printer is loaded with the appropriate material (I’m using wall flair vinyl).
Next, adjust the Feed calibration, bi-directional calibration, cut force, and cut position calibrations on your system. Refer to your user manual for the proper procedure on adjusting each of these settings.
Lastly, click “Print”.
Let us know how you get on in the comments section below!


